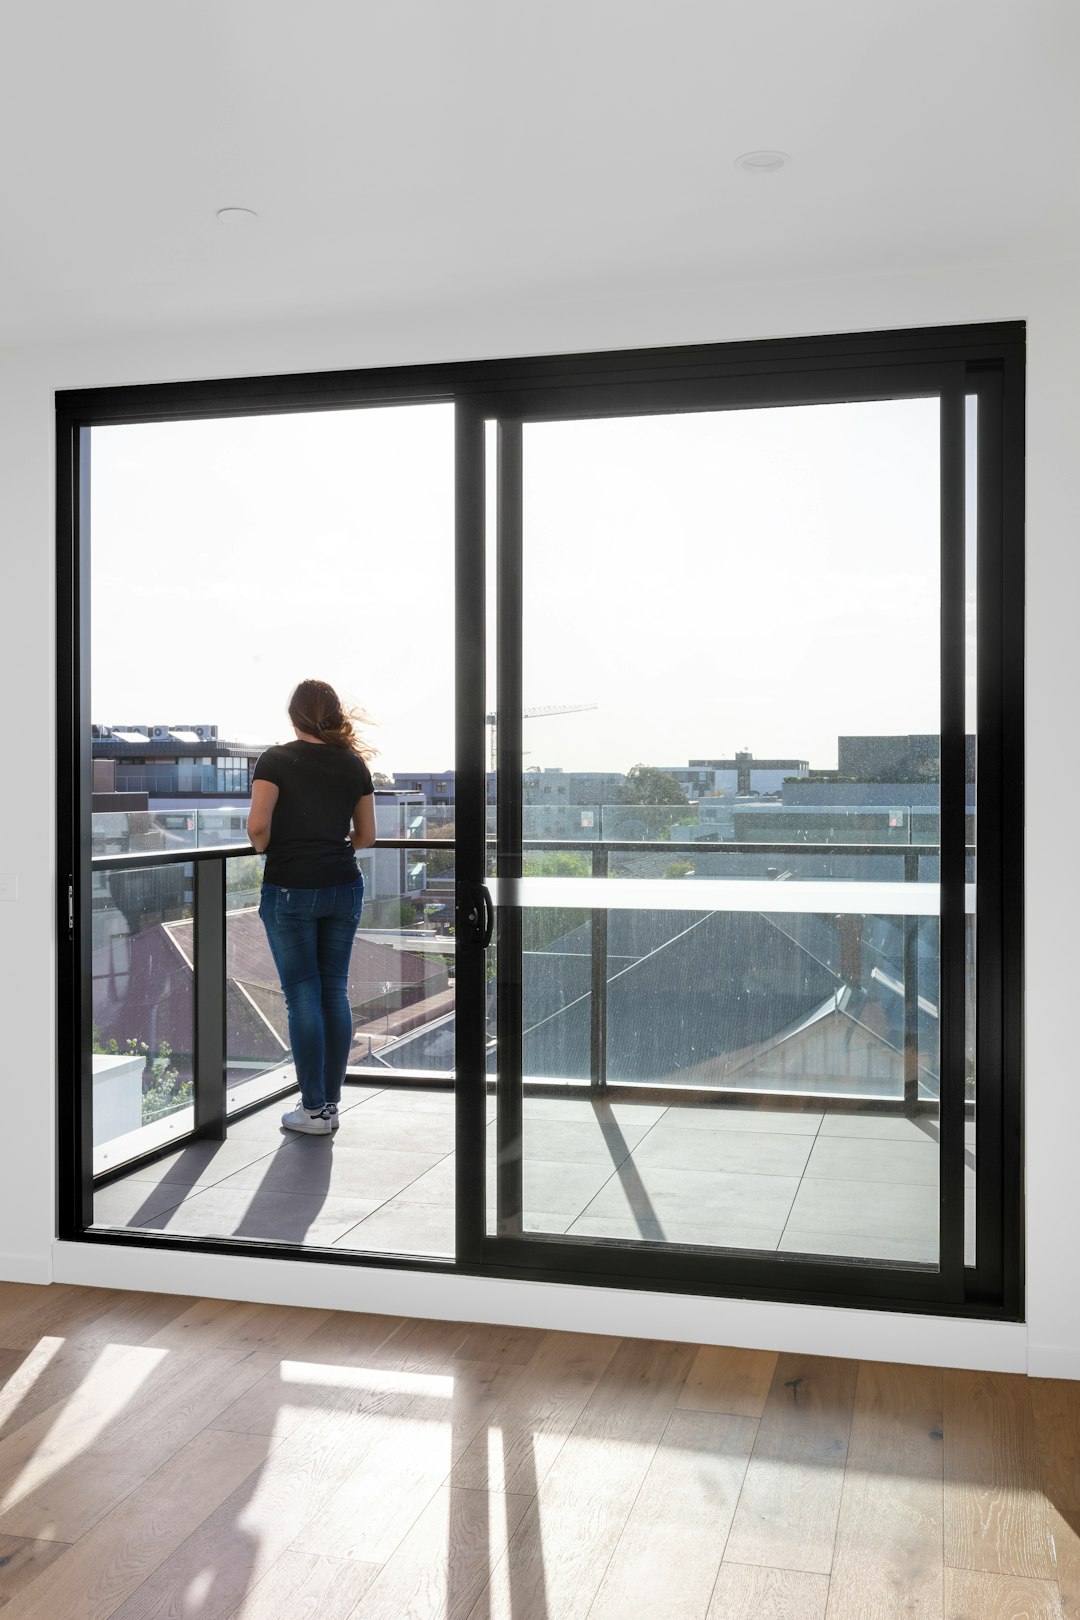
 Photo from Unsplash
Originally Posted On: https://huggymonster.com/installing-replacement-slider-windows-a-complete-guide/
Are you pulling your hair out not knowing what to do about a broken sliding glass window?
Don’t fret because installing replacement slider windows is a project that only takes a few hours to complete. Breaking the old window may even be a blessing in disguise. Now you can replace it with a newer, more energy-efficient model.
While DIY slider windows replacement may be possible for a beginner, it can be quite a challenge. If you’re only replacing the sliders or sashes, then the level of skills needed isn’t much of an issue. On the other hand, installing full replacement windows requires the right tools and the know-how to use these tools.
Check this slider windows replacement guide to gauge if you have the necessary skills to complete this project yourself.
Step One: Take MeasurementsMeasure the opening of the original window and the dimensions of the sliders. When ordering a replacement piece, make sure you have the measurements with you.
Slider windows replacement cost and quality vary by brand. Learn more about the top replacement window brands by clicking on the link.
When you receive the new window, verify that the dimensions are correct and will fit in the existing opening.
Step Two: Remove the Window Sashes/SlidersThe method of removing the sliders may vary depending on the manufacturer. Typically, you can remove the movable panel by opening the window all the way, then lifting it up and pulling the bottom part towards you. To take out the fixed panel, you’ll first have to unscrew the vertical bar holding it in place.
You can set the replacement panels by reversing the process. If that’s the only thing you need to do, then congratulations, you’re done! But if you’re doing a total replacement, proceed to the next step.
Step Three: Prepare the FrameClean out the area, scrape off all loose paint, and patch any holes or cracks in the wood with putty or filler. Make sure that the frame is level and plumb, and use some shims if needed. You can lay down a sill strip or flashing tape on the window sill.
Dry-fit the new window into the opening. There should be a small space around the frame.
The next step to prepare the frame is applying caulk. Use a small bead of caulk and apply it along the frame’s perimeter.
Step Four: Installing the Replacement Slider WindowsSet the new window into the opening, and press it firmly against the caulk. Secure the window to the frame with the included screws. Install the sliders according to the manufacturer’s instructions.
Inspect the window position and alignment, and look for any gaps or uneven areas. It’s possible to correct minor errors with the screws. If there’s a gap on one side, you can tighten the screws on that side and loosen the screws on the opposite side.
Finally, fill up any remaining gaps with caulk or spray foam insulation. Cut the shims used and install window trim to give it a finished look. That’s it!
Admire Your HandiworkIt should take about four to six hours to complete this replacement slider windows project. Can you do it? Only you can answer that question, but this guide should give you an idea about what it takes to complete it.
For more home improvement tips, please feel free to browse our site.
